

Hi friends!!
A couple of weeks ago I shared our bathroom remodel! If you didn’t catch that post, you can find it here. When decorating, I never feel like a room is totally finished until there is something on the walls…a mirror, pictures, or some kind of artwork. So, one of my projects for our bathroom was creating something to hang next to our vanity!
Have you ever wondered how to get those crisp, bright photos with a white background? I see them everywhere…blogs, Instagram, Facebook, Etsy…the photos display objects SO nicely because they make the objects POP!
Today I’m going to share how I create clean, crisp images with a white background for my blog posts (which also happens to be how I created the art print for our bathroom!)
Here’s the HOW TO:
1. First you need to find a window with indirect light. This means soft light…you want your photos to be bright, but you don't want the light to create harsh shadows! I walked around my home and tried different windows until I found my favorite one! You can also try different windows at different times of day! For example, the sun shines RIGHT into my kitchen in the morning creating shadows, but in the afternoon, there is soft light in that same spot! If you're having trouble finding soft light, you can purchase a filter and/or reflector. I use these sometimes, and they work great! You can find inexpensive sets that come with a few different reflectors and a filter on Amazon.
2. Next, you need 2 pieces of poster board and a flat surface next to the window! Place one poster board on the flat surface, and the other propped up behind it (creating an 'L' shape!) This will give you a blank, white canvas for your photos that reflects light! If you have a white table or a light, pretty counter top, you could just use one piece of poster board for the background! We don't have either of those (yet!!), so I prefer to use two pieces of poster board to create a clean, crisp photo!
This behind the scenes photo is embarrassing and I almost didn't post it! As a photographer, I would love to have some kind of chic set up or a studio that doesn't require a random kitchen chair and a bench, ha!! ;) My goal is to have a studio one day, but for now this is reality, and the posterboard honestly works really well! The reason I did decide to post this photo is because it obviously isn't fancy or high tech, which means it is easy to recreate in any home or office!
3. The last step is to take your photos and to take lots of them!! I always shoot an object or styled flat from several of different angles (and sometimes I even use a step stool!) Afterwards, I decide which image(s) will work best for my blog & social media! If my photos still aren't quite bright enough, I edit them a little bit to get the desired look! I often just bump up the brightness or exposure a tad!
I took about 20 different shots of these flowers at lots of different angles!! These two were my favorite, and I ended up framing the one on the right!
For our bathroom art, I bought silk flowers from A.C. Moore (the peonies in the photos above!!!) and arranged them in a white porcelain pitcher that we already had at our house! I placed the pitcher in the middle of the poster board and took shots from several different angles. Then I picked the one I liked best and printed it on white card stock! Finally I framed it in a plain white frame (also from A.C. Moore…for $8!!) Then, voila!! We had an original art print for our home!
The great thing about the poster board trick is that it can even work with your iPhone! If you're using an iPhone, you can brighten your photos with most of the photo editing apps! You can also brighten photos within the Instagram app!
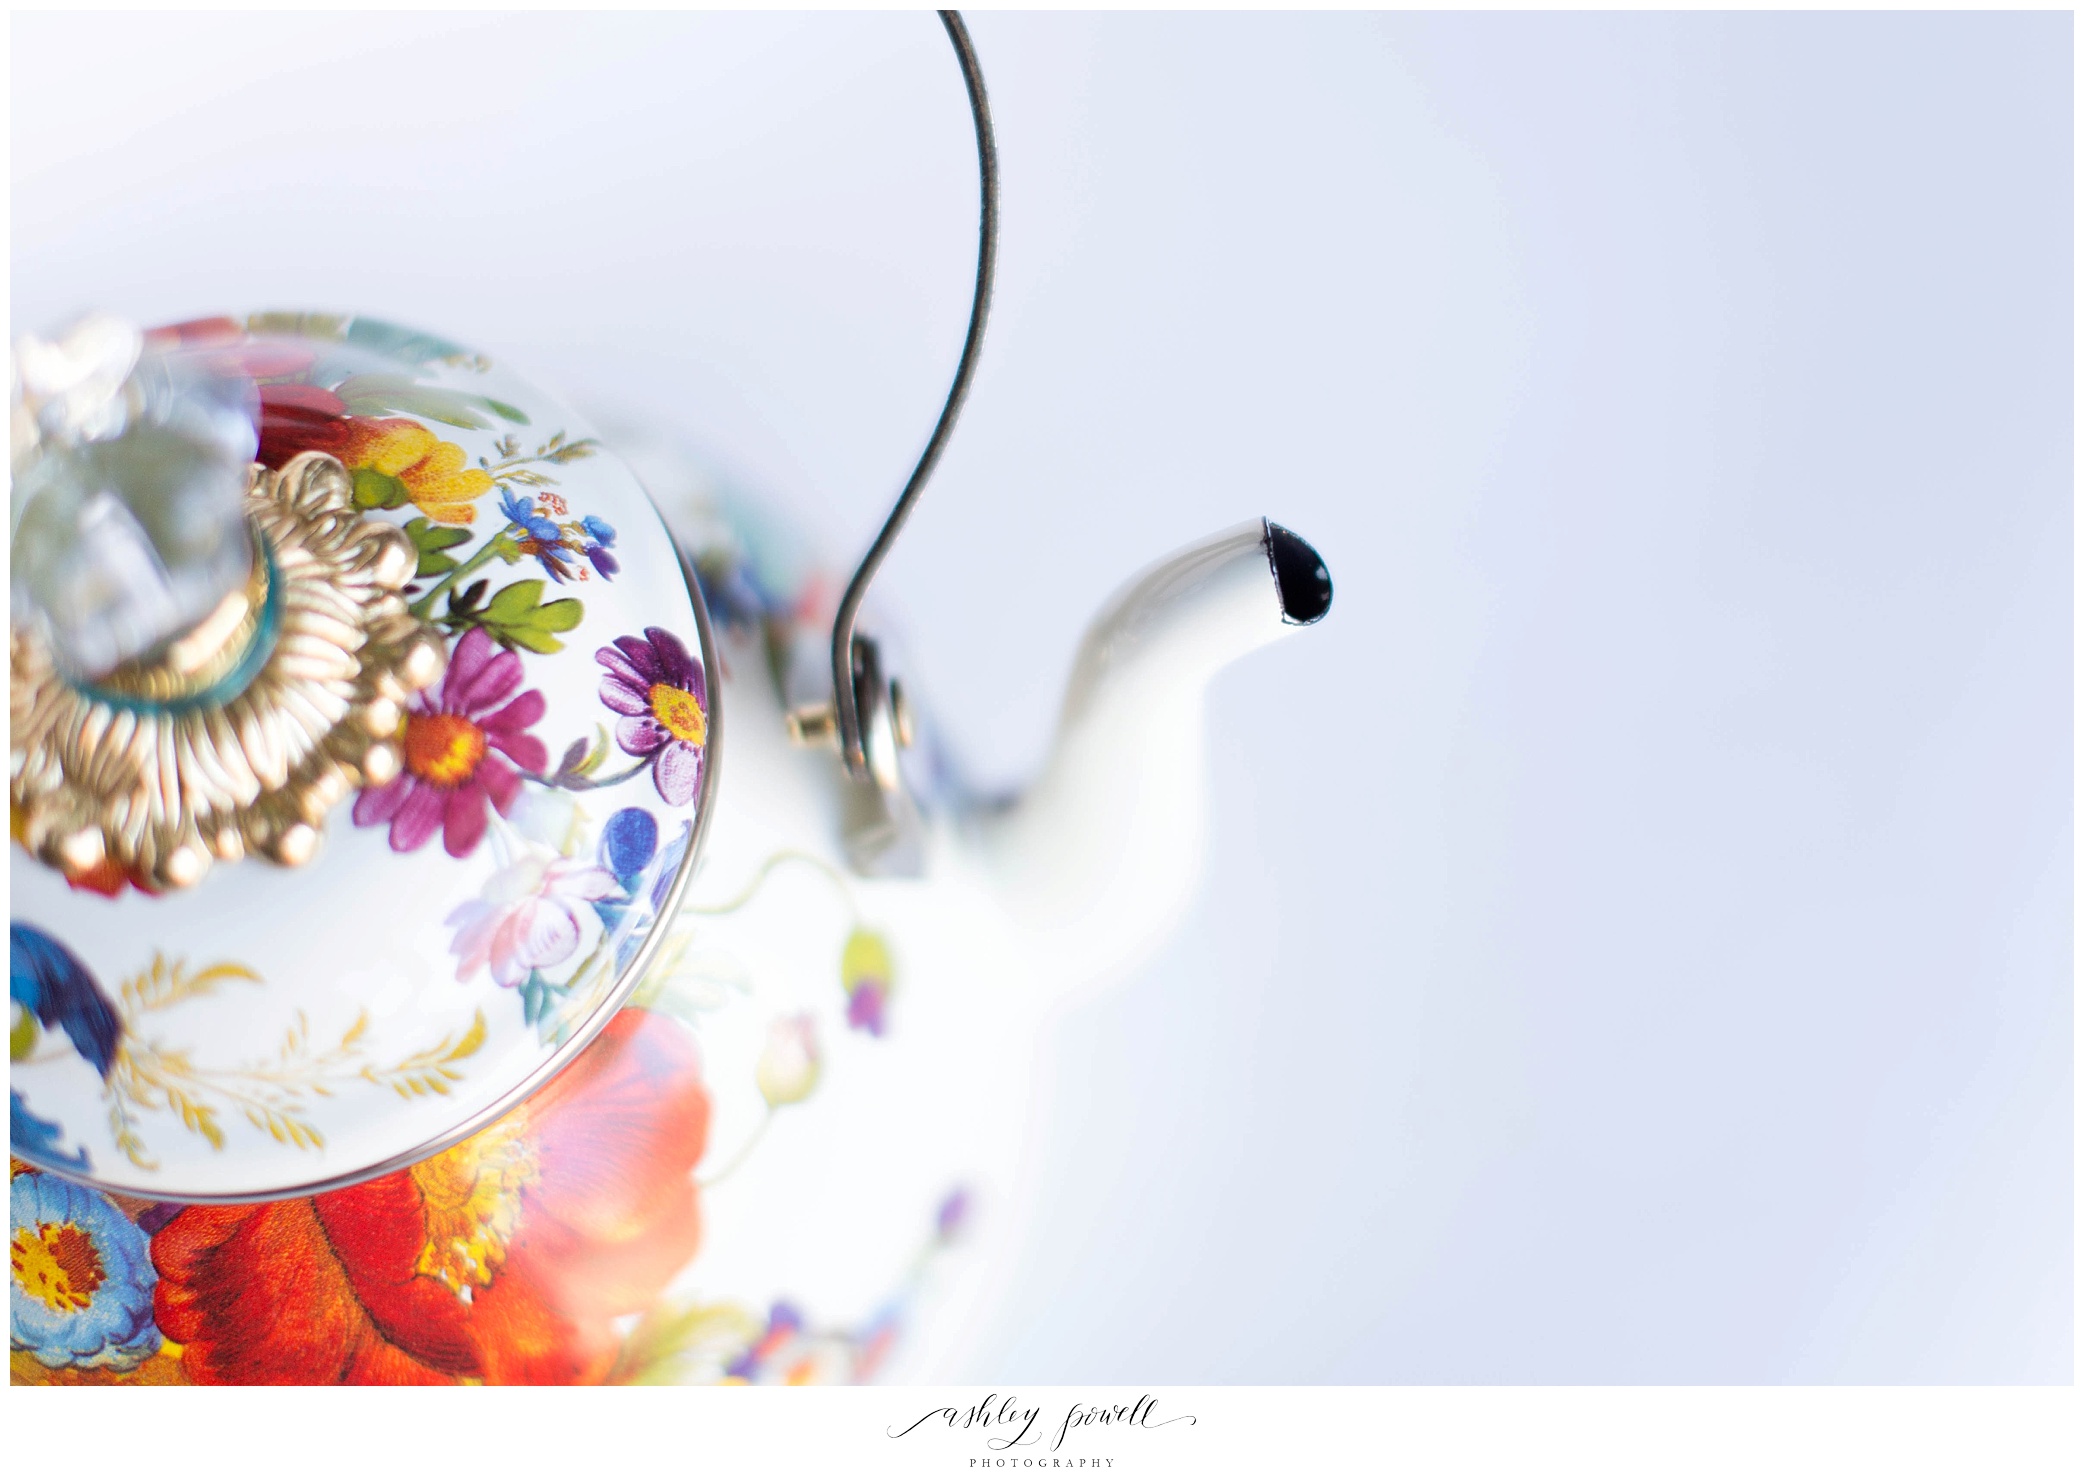
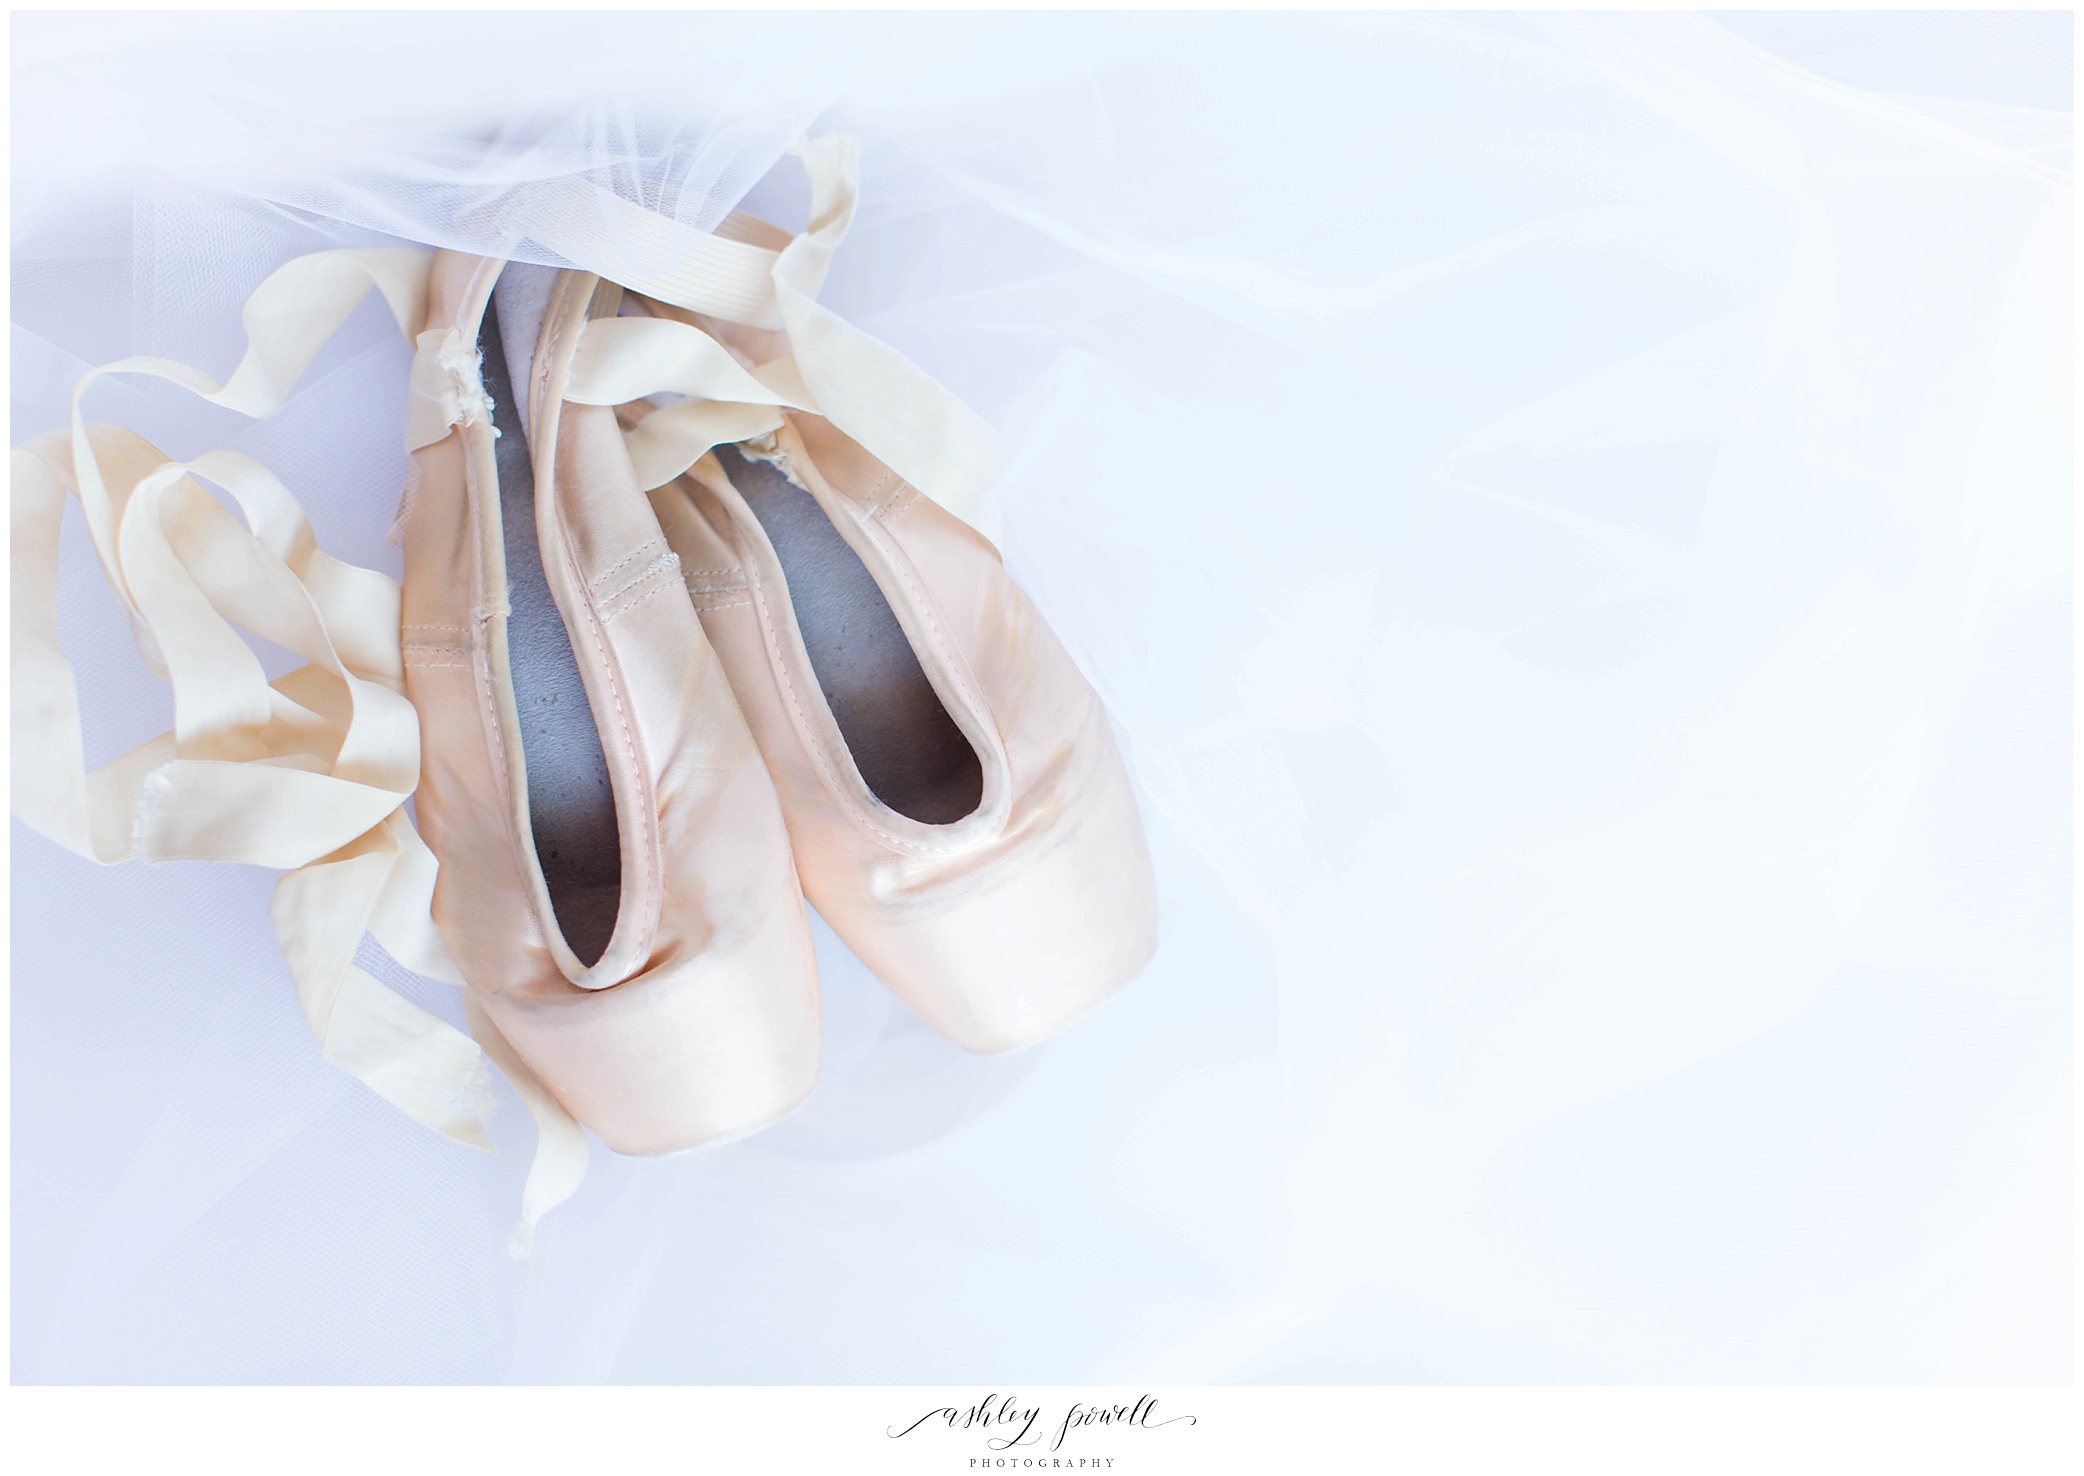
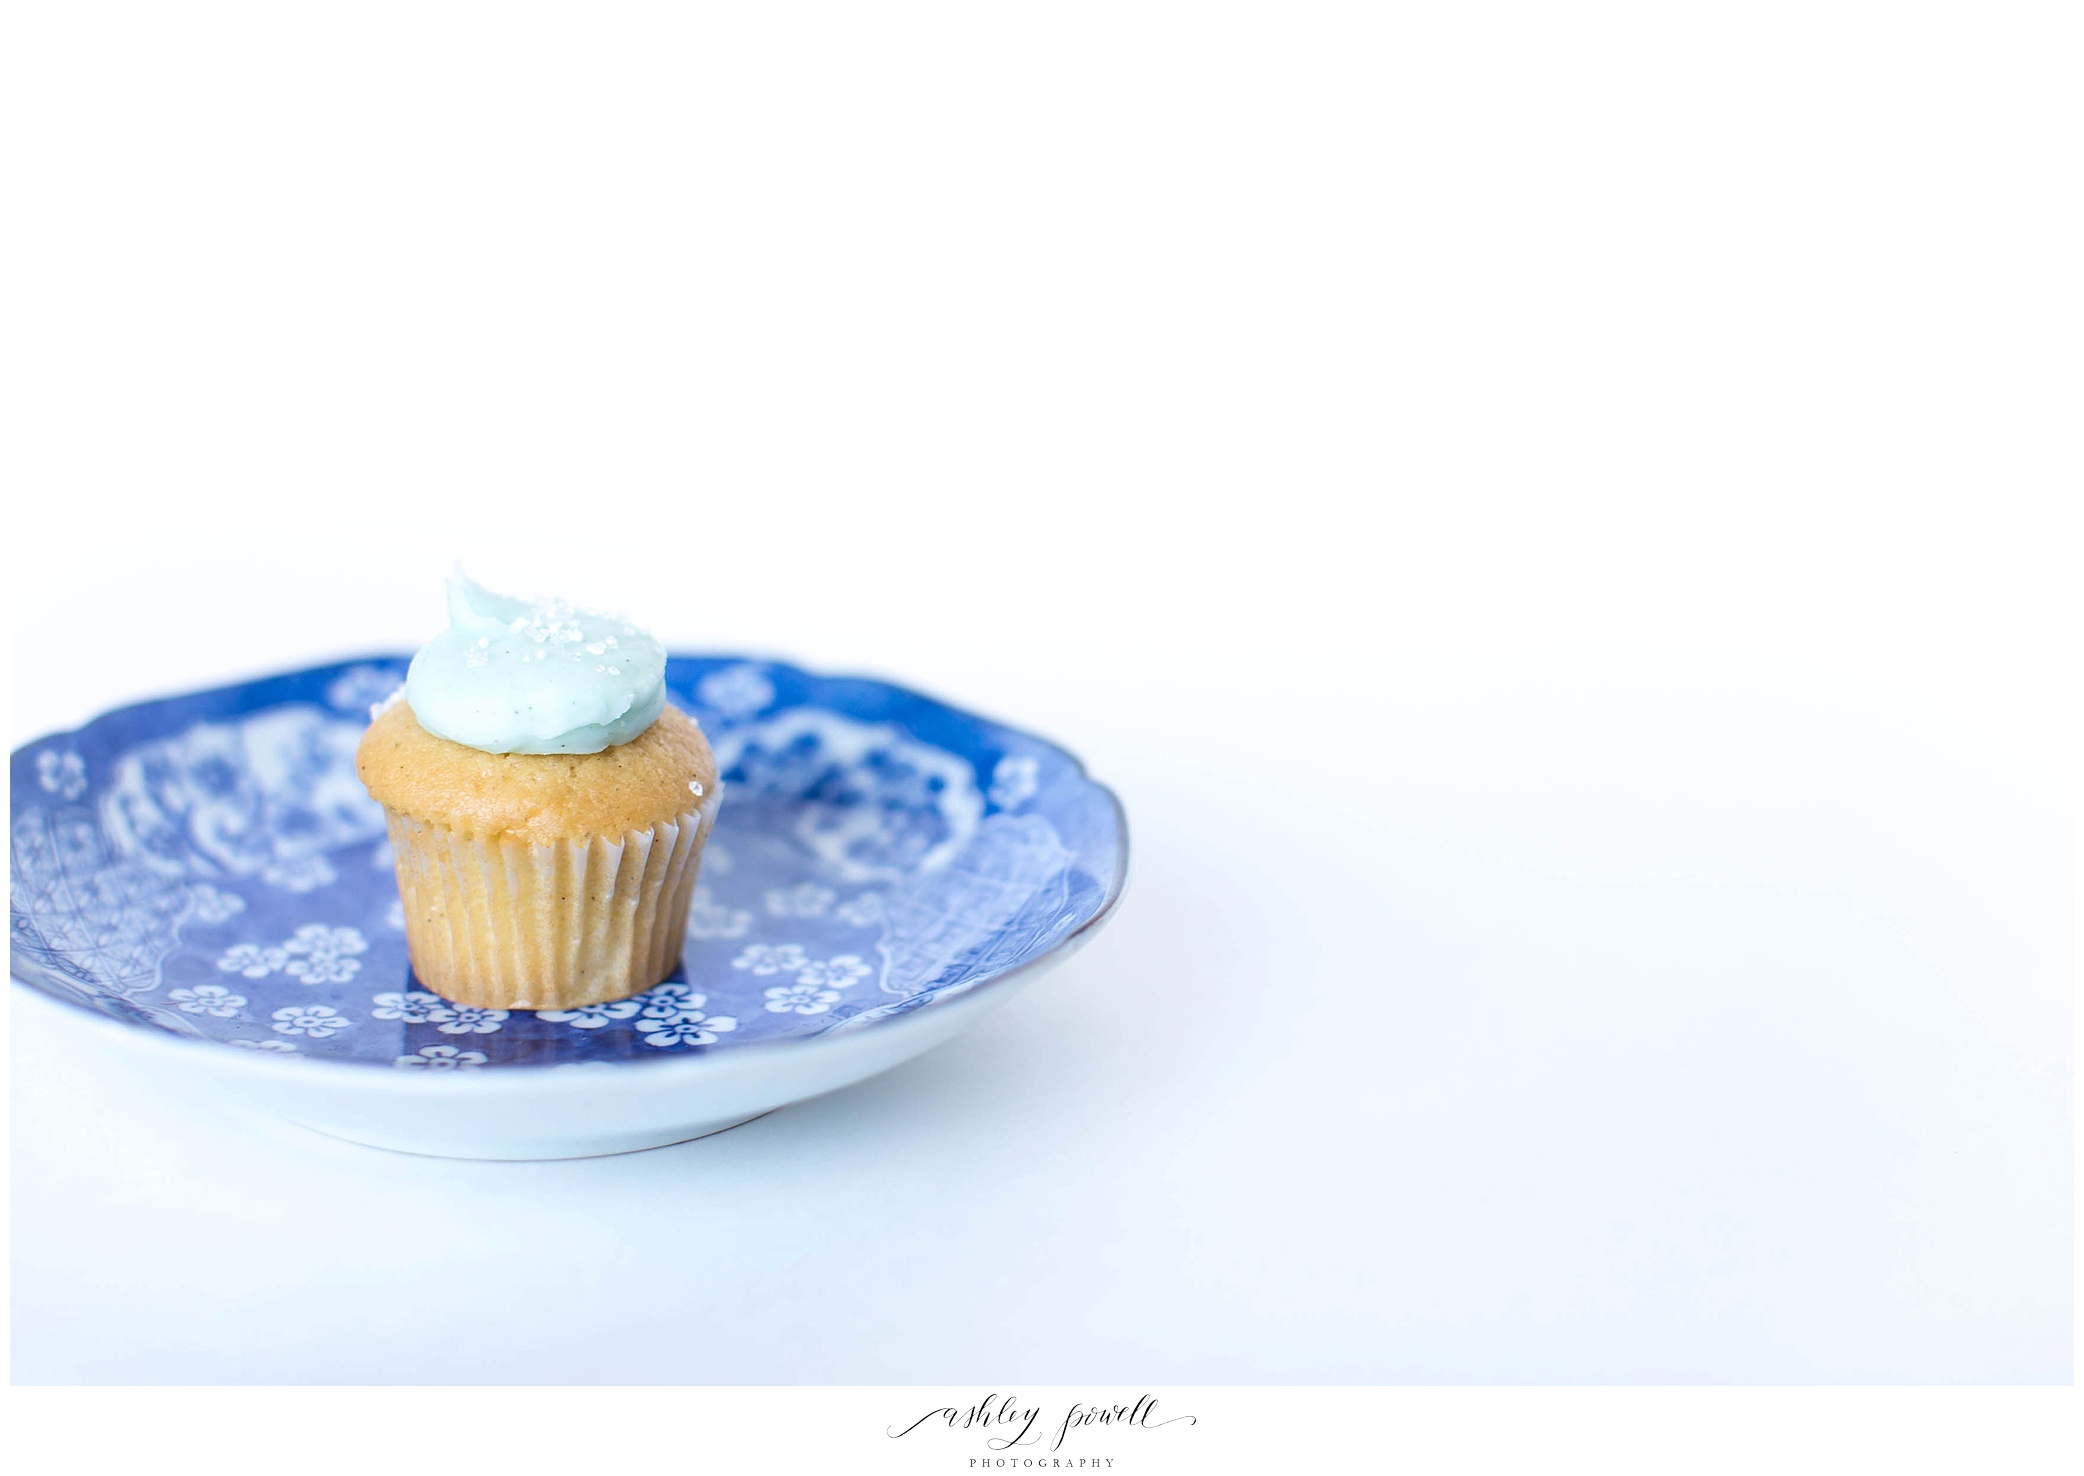
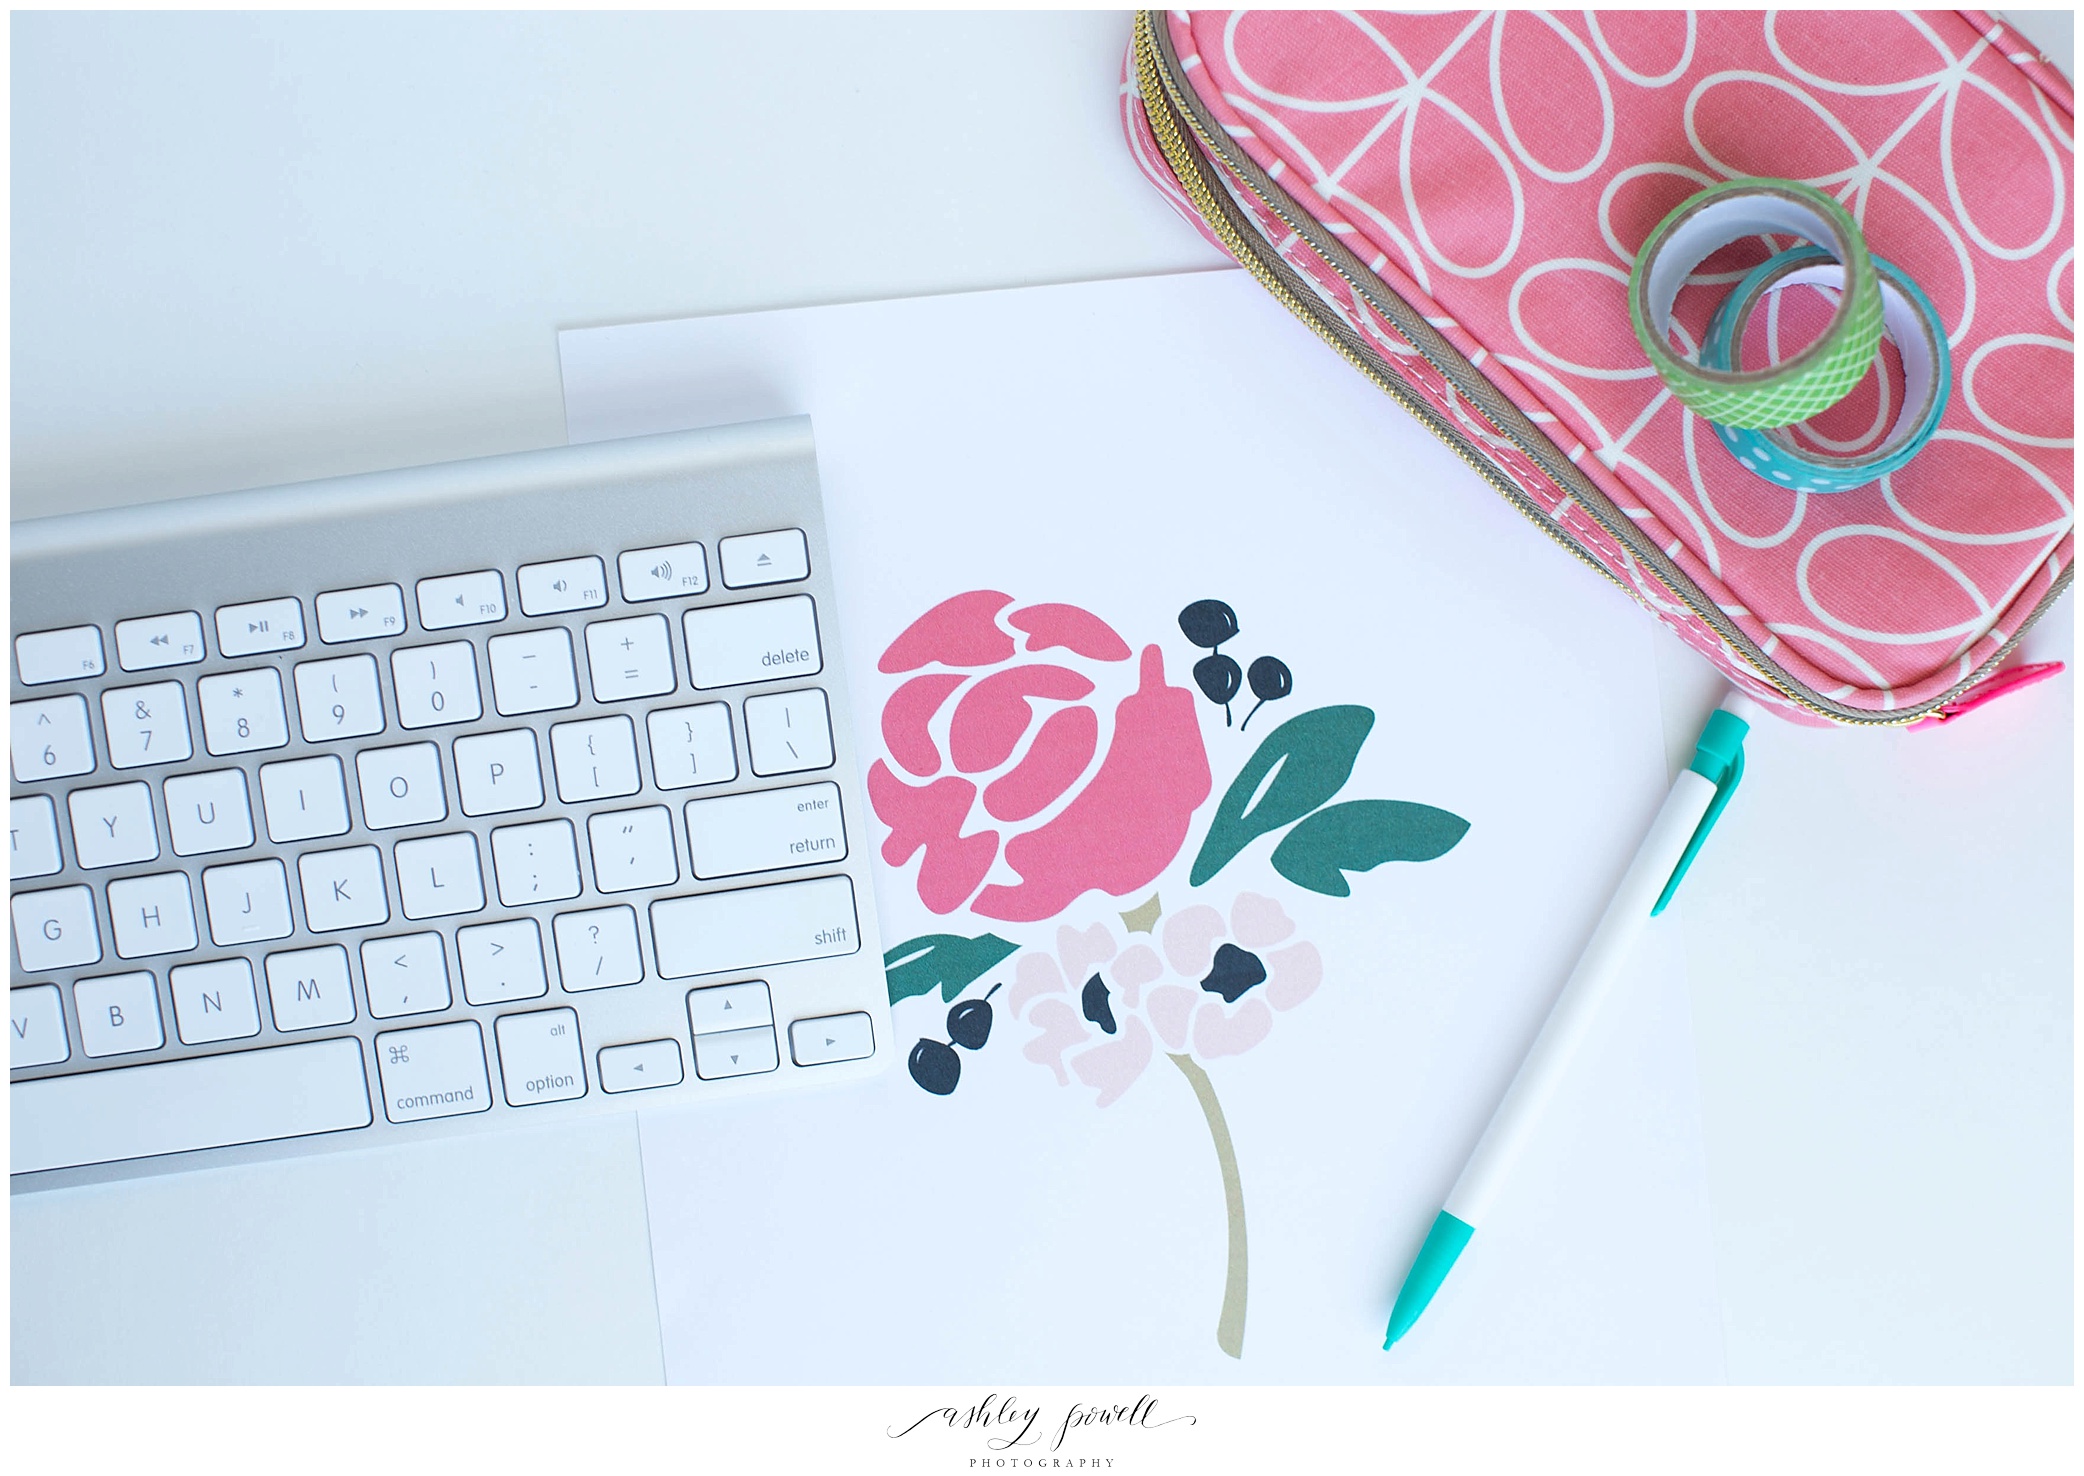
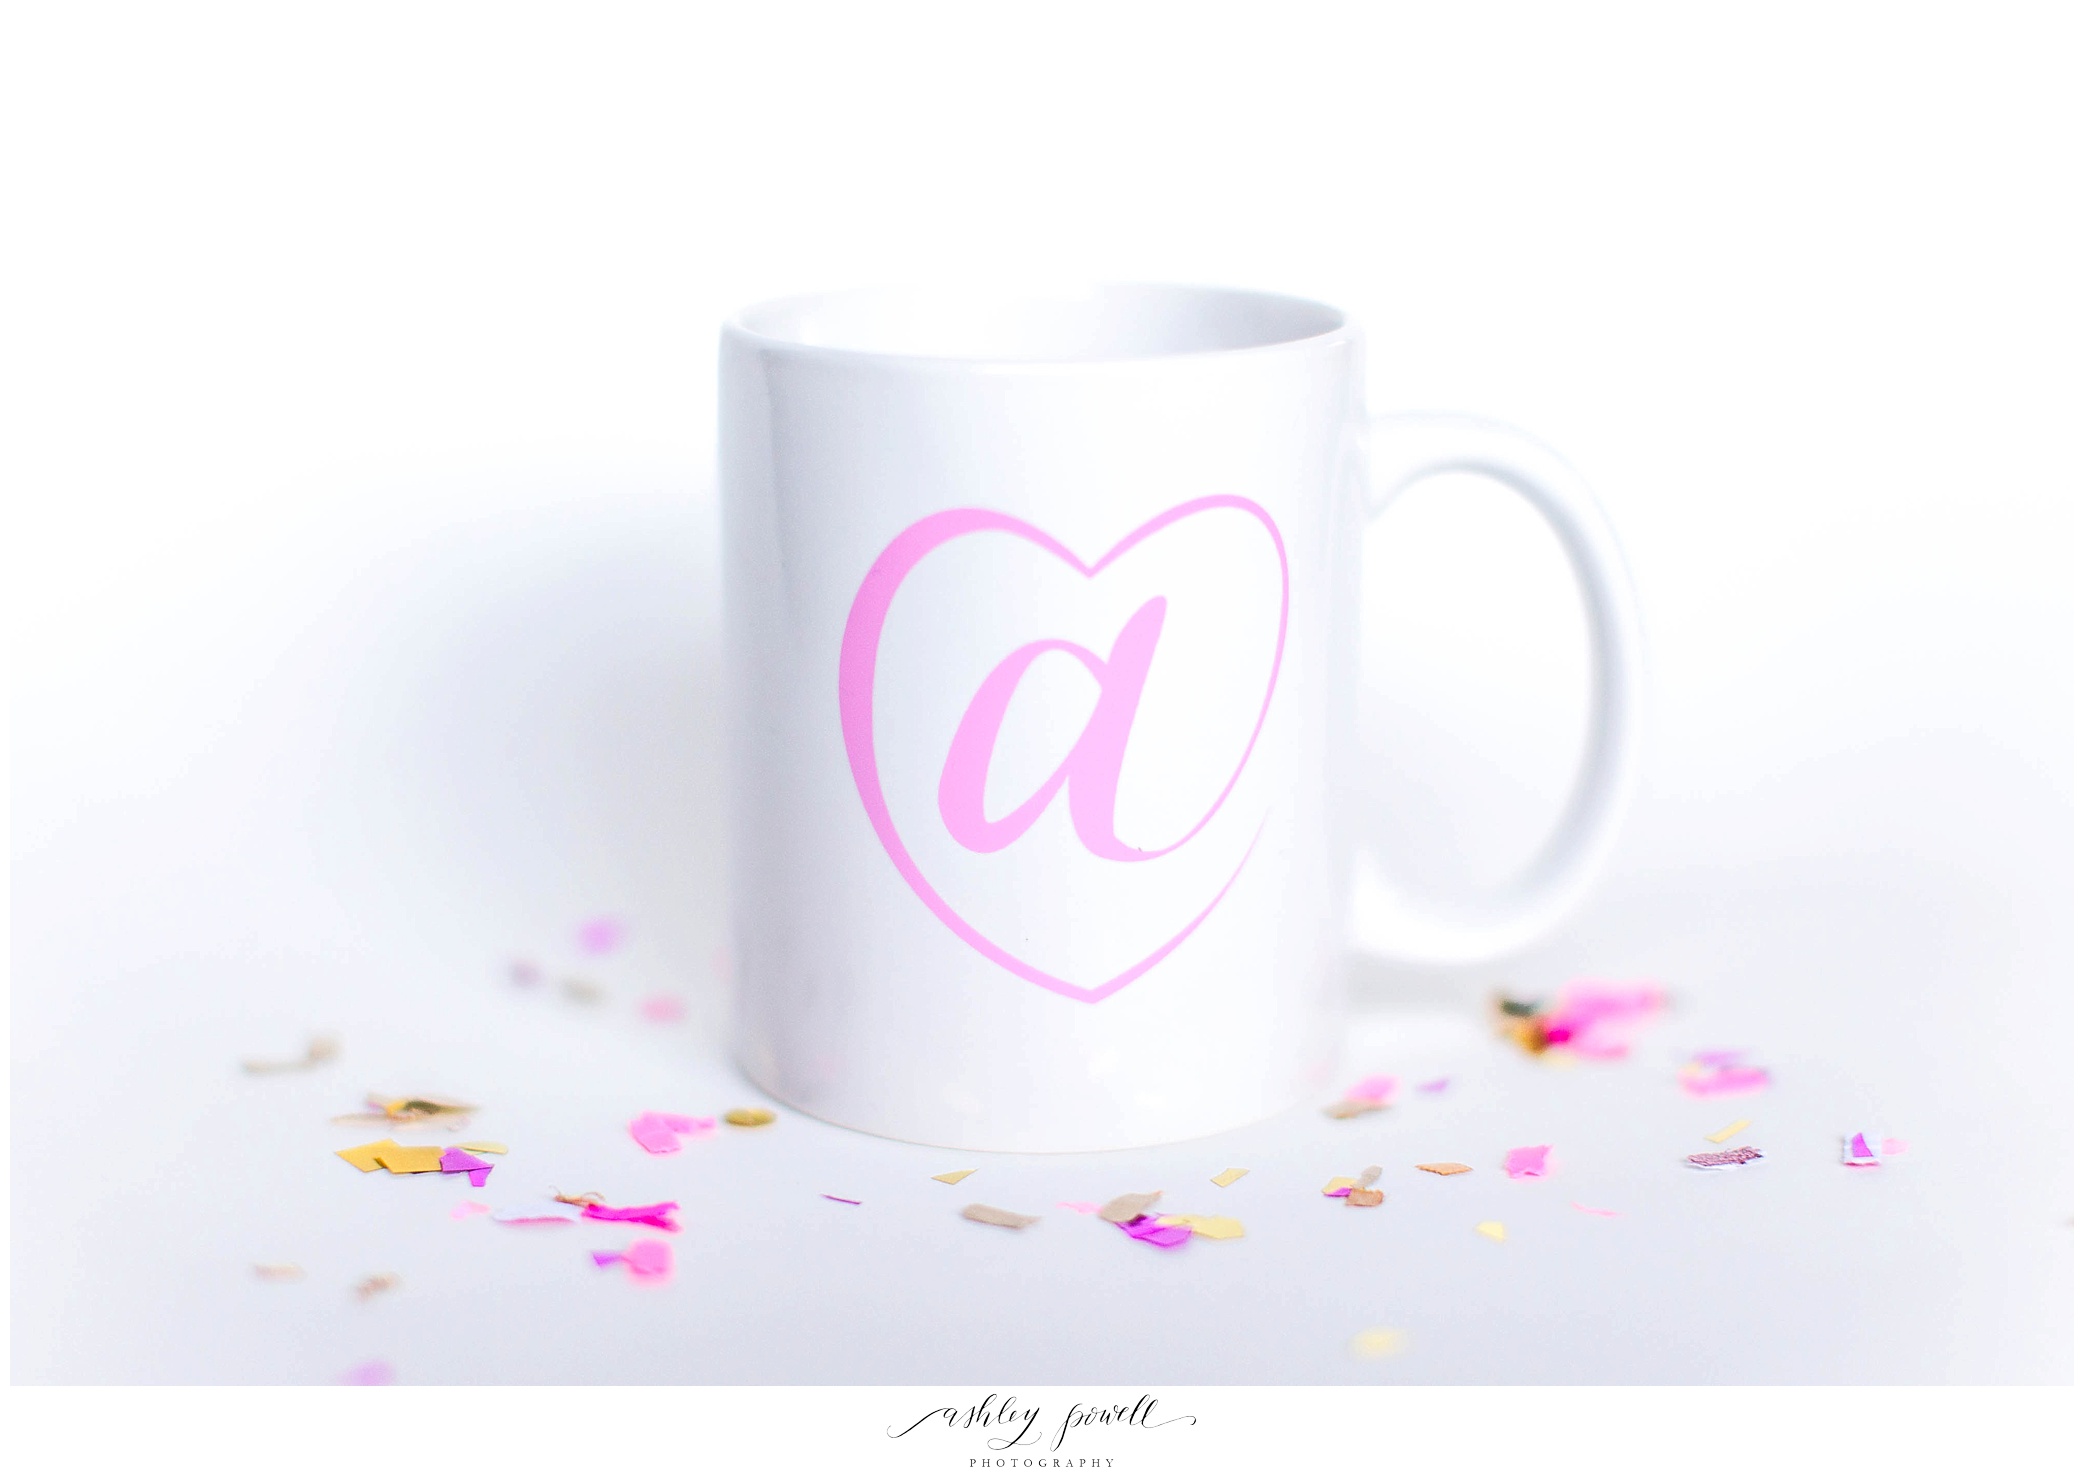
Here are a few images where I used the 'posterboard trick'!

Bloggers, photographers, Esty shop owners, istagrammers, and DIYers, I hope you found this post helpful!! As always, if you have any questions, don't hesitate to comment below or shoot me an email!!
xo! Ashley